Process
Instead of having some type of blog, I figured I'd go for a process section, as a lot of what I did for my thesis project required numerous steps that aren't readily apparent in the final project. Plus, maybe it's the potter in me, maybe it's the inner child obsessed with Legos, but the actual construction part of any given project is as fulfilling if not more so than the final product.
Disthrashterpiece Command Console
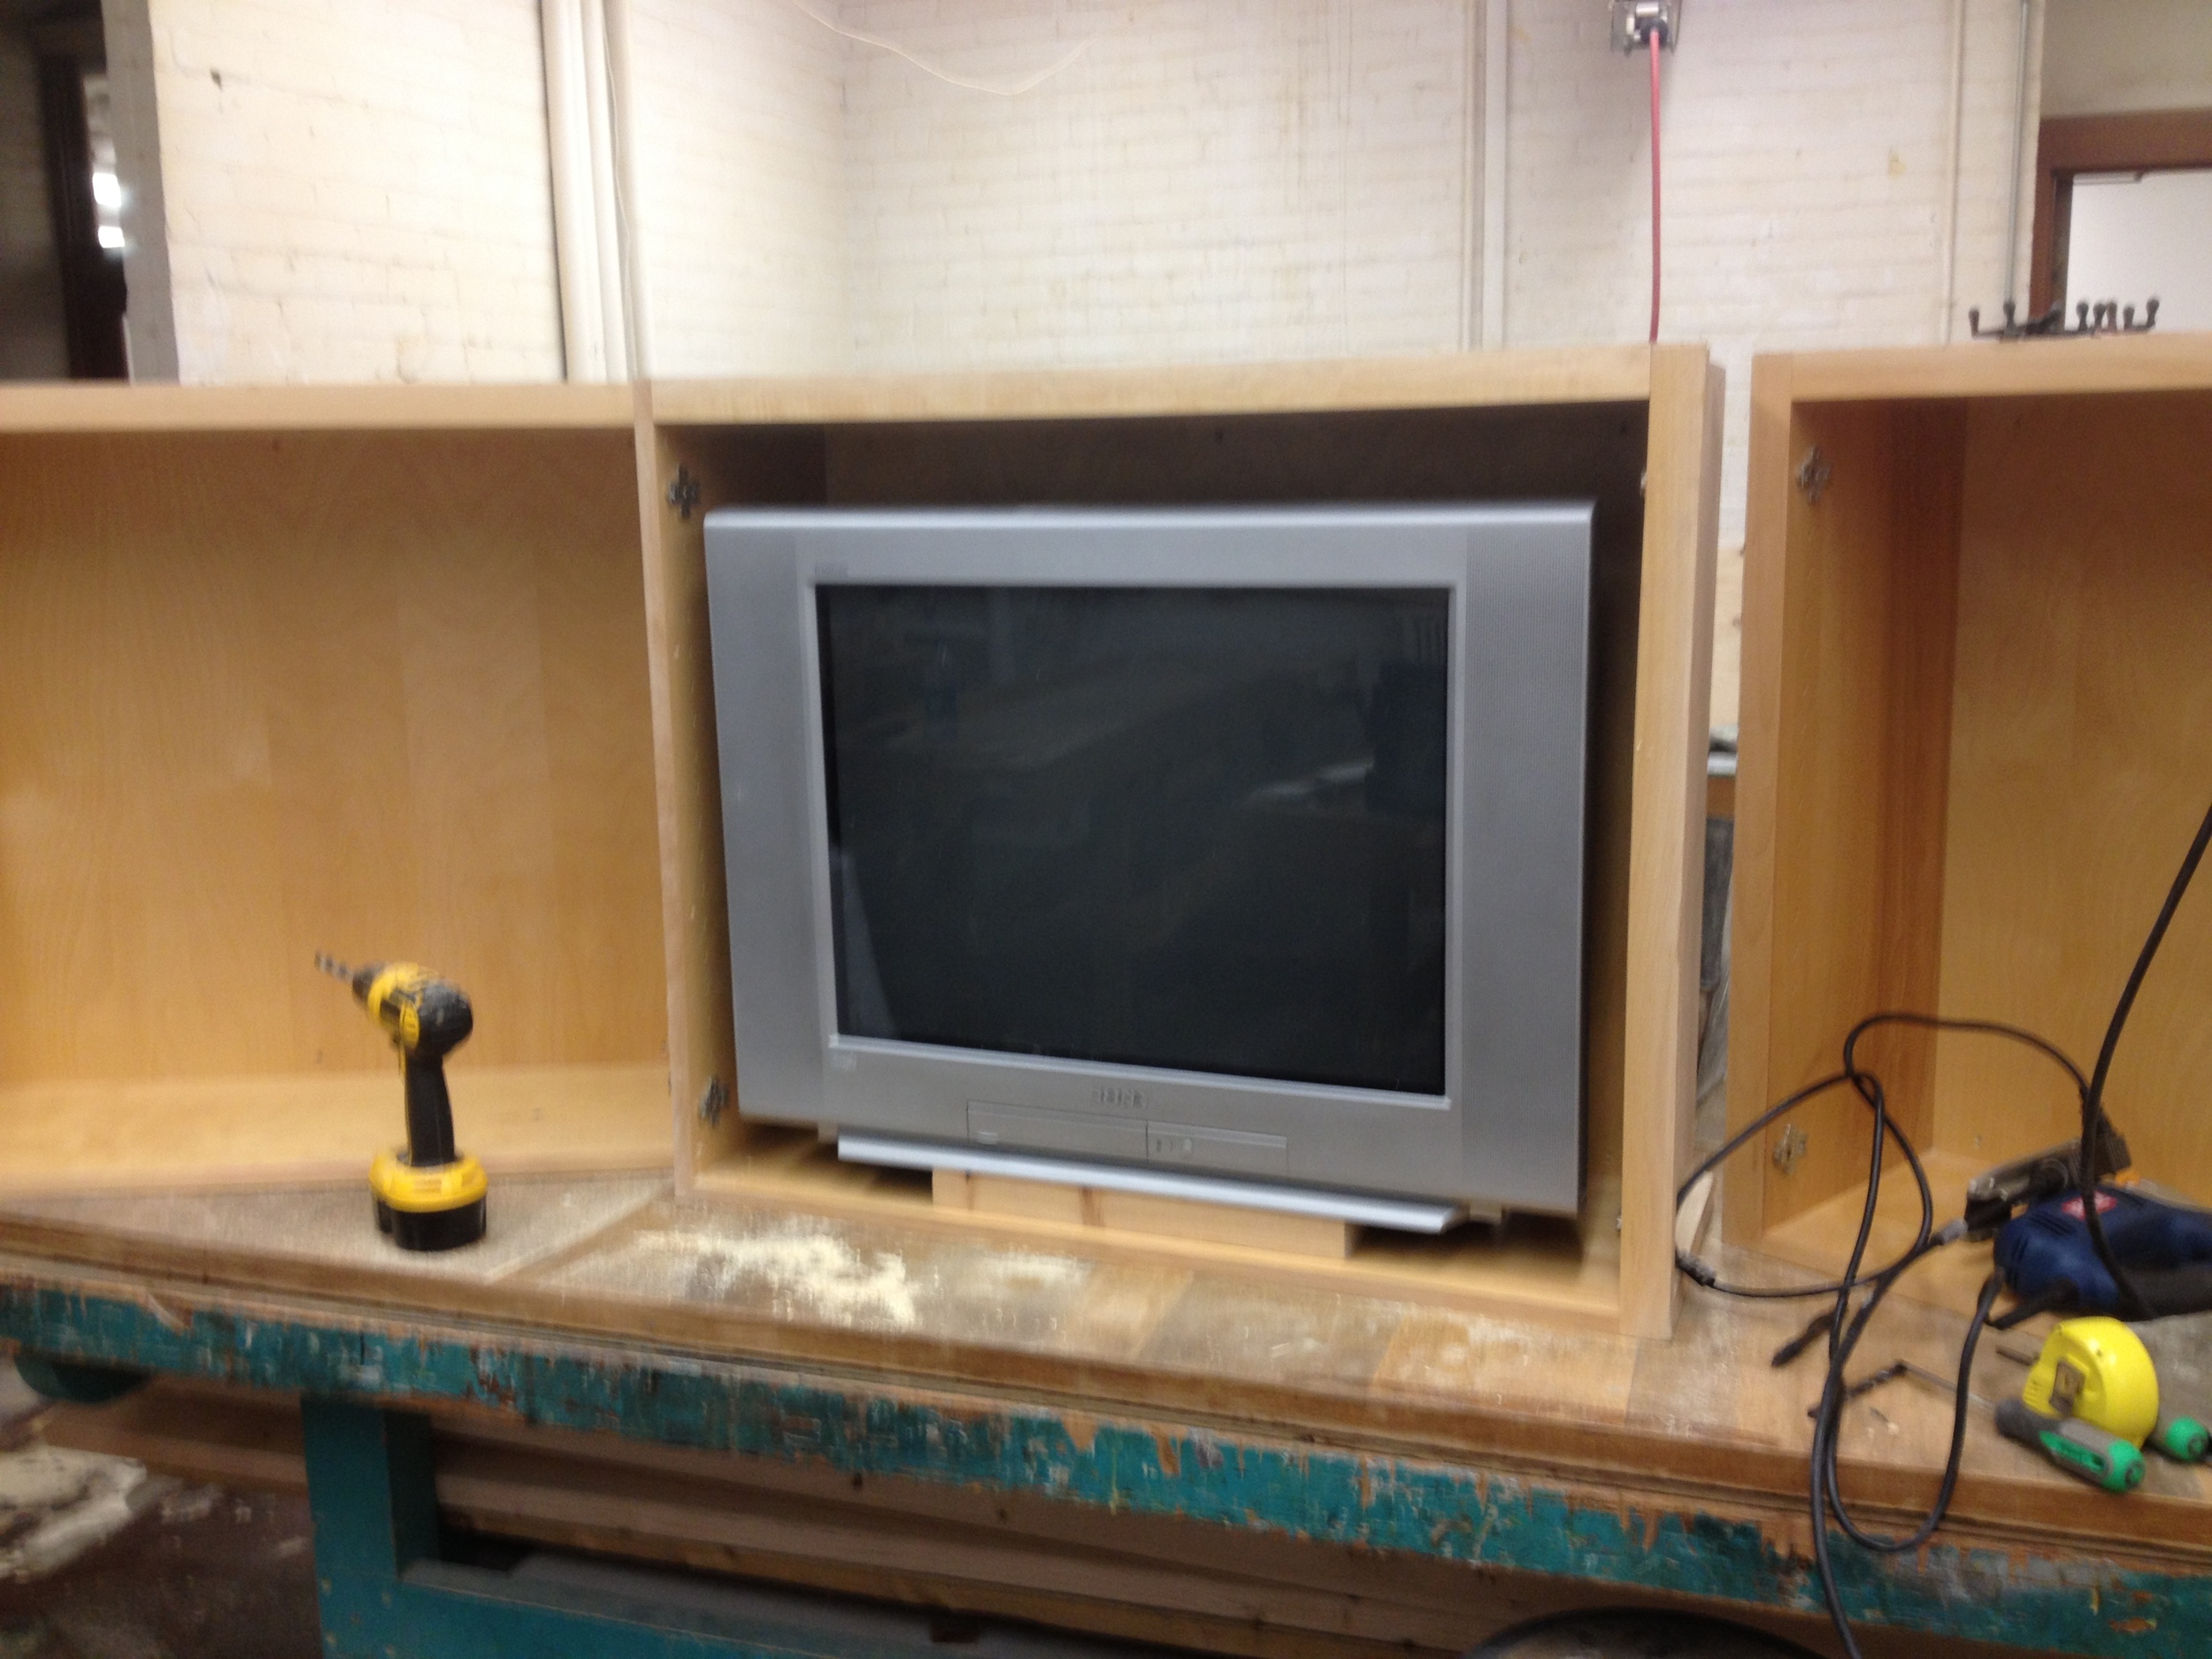
Very start of the console, these three cabinets were screwed together and modified to hold 3 27" tube tvs.
So, here are some pics of the Disthrashterpiece Command Console. By this point, the found object nature of my thesis was in full swing, I'd accumulated about two years worth of random crap, through scavenging and donations from fellow scavengers (Shout out to Bryce Robinson), and finally had enough stuff accumulated to get my thesis built. Also, it was crunch time at this point, which really made me strip out extraneous ideas and focus on getting the meat of what I needed to make out there.

The monitors mounted in their boxes and raised on their support columns. At this point everything is being held in place by gravity, while the pipe clamps here are serving the function of holding the ribbed columnar element and metal sheafing in place, prior to being bolted and screwed together. In the final product the clamps serve as an aesthetic device.

Monitors and console unpainted. The "console" was built using a circular clothing rack, found steel plates, and random computer parts, while the diagnostic table is a grocery store scanner turned on its side. As you can see some fabrication using wood was involved to make all the pieces gel. The monitors have been enclosed behind pegboard covers.

Different angle on the console, found the orange filing cabinet which happened to fit perfect underneath the monitors as a third support strut. The strut on this side was fabricated from two pieces of steel that were already that shape.

Same strut painted and "worn." I went to town on it with a grinder, and used a palm sander to soften the edges of the wear to make it look more time based than inflicted. Eventually the metal was force rusted to look old.

Early Mockup of potential thesis layout, pre-command console construction. Essentially, all my props were made at this point, along with the weapons rack and M.P.B.F.G. 5000 redesign poster. Also, I displayed in the loading dock, so I had access to the forklift and figured, why not.
Hammernaut Tenderizer 5000
At some point the idea that Atom Boy needed some big, unwieldy melee weapons popped into my head, and nothing seems as dumb and awesome at the same time as a hammer. Also, I had been wanting to use the suffixes -naut and -tron for a while, and the idea for the Hammernaut Tenderizer 5000 was born. This piece also allowed me to showcase some 3D modeling capabilities in the time limits/budget that I had. In designing the Hammernaut, I knew it needed to be larger than life, but I wanted it to be of a manageable scale, hence the proportions of Thor's hammer but scaled up about 400%. Also, due to Pacific Rim and the Rocket Punch, it needed rockets. Because Rocketz.

Solidworks 3D model of Hammernaut. The shaft/ handle was a component I already had, along with the tubing and the fuel canisters, which were modeled off of paint cans but became a different type of bottle on the final model.

CNCing of oversized screw caps. Honestly, I'm mostly putting this pic in because I thought the CNC was the coolest thing ever, and watching something I designed on a computer enter the real world is pretty awesome. Also kinda gives away that the Hammernaut is made of foam.

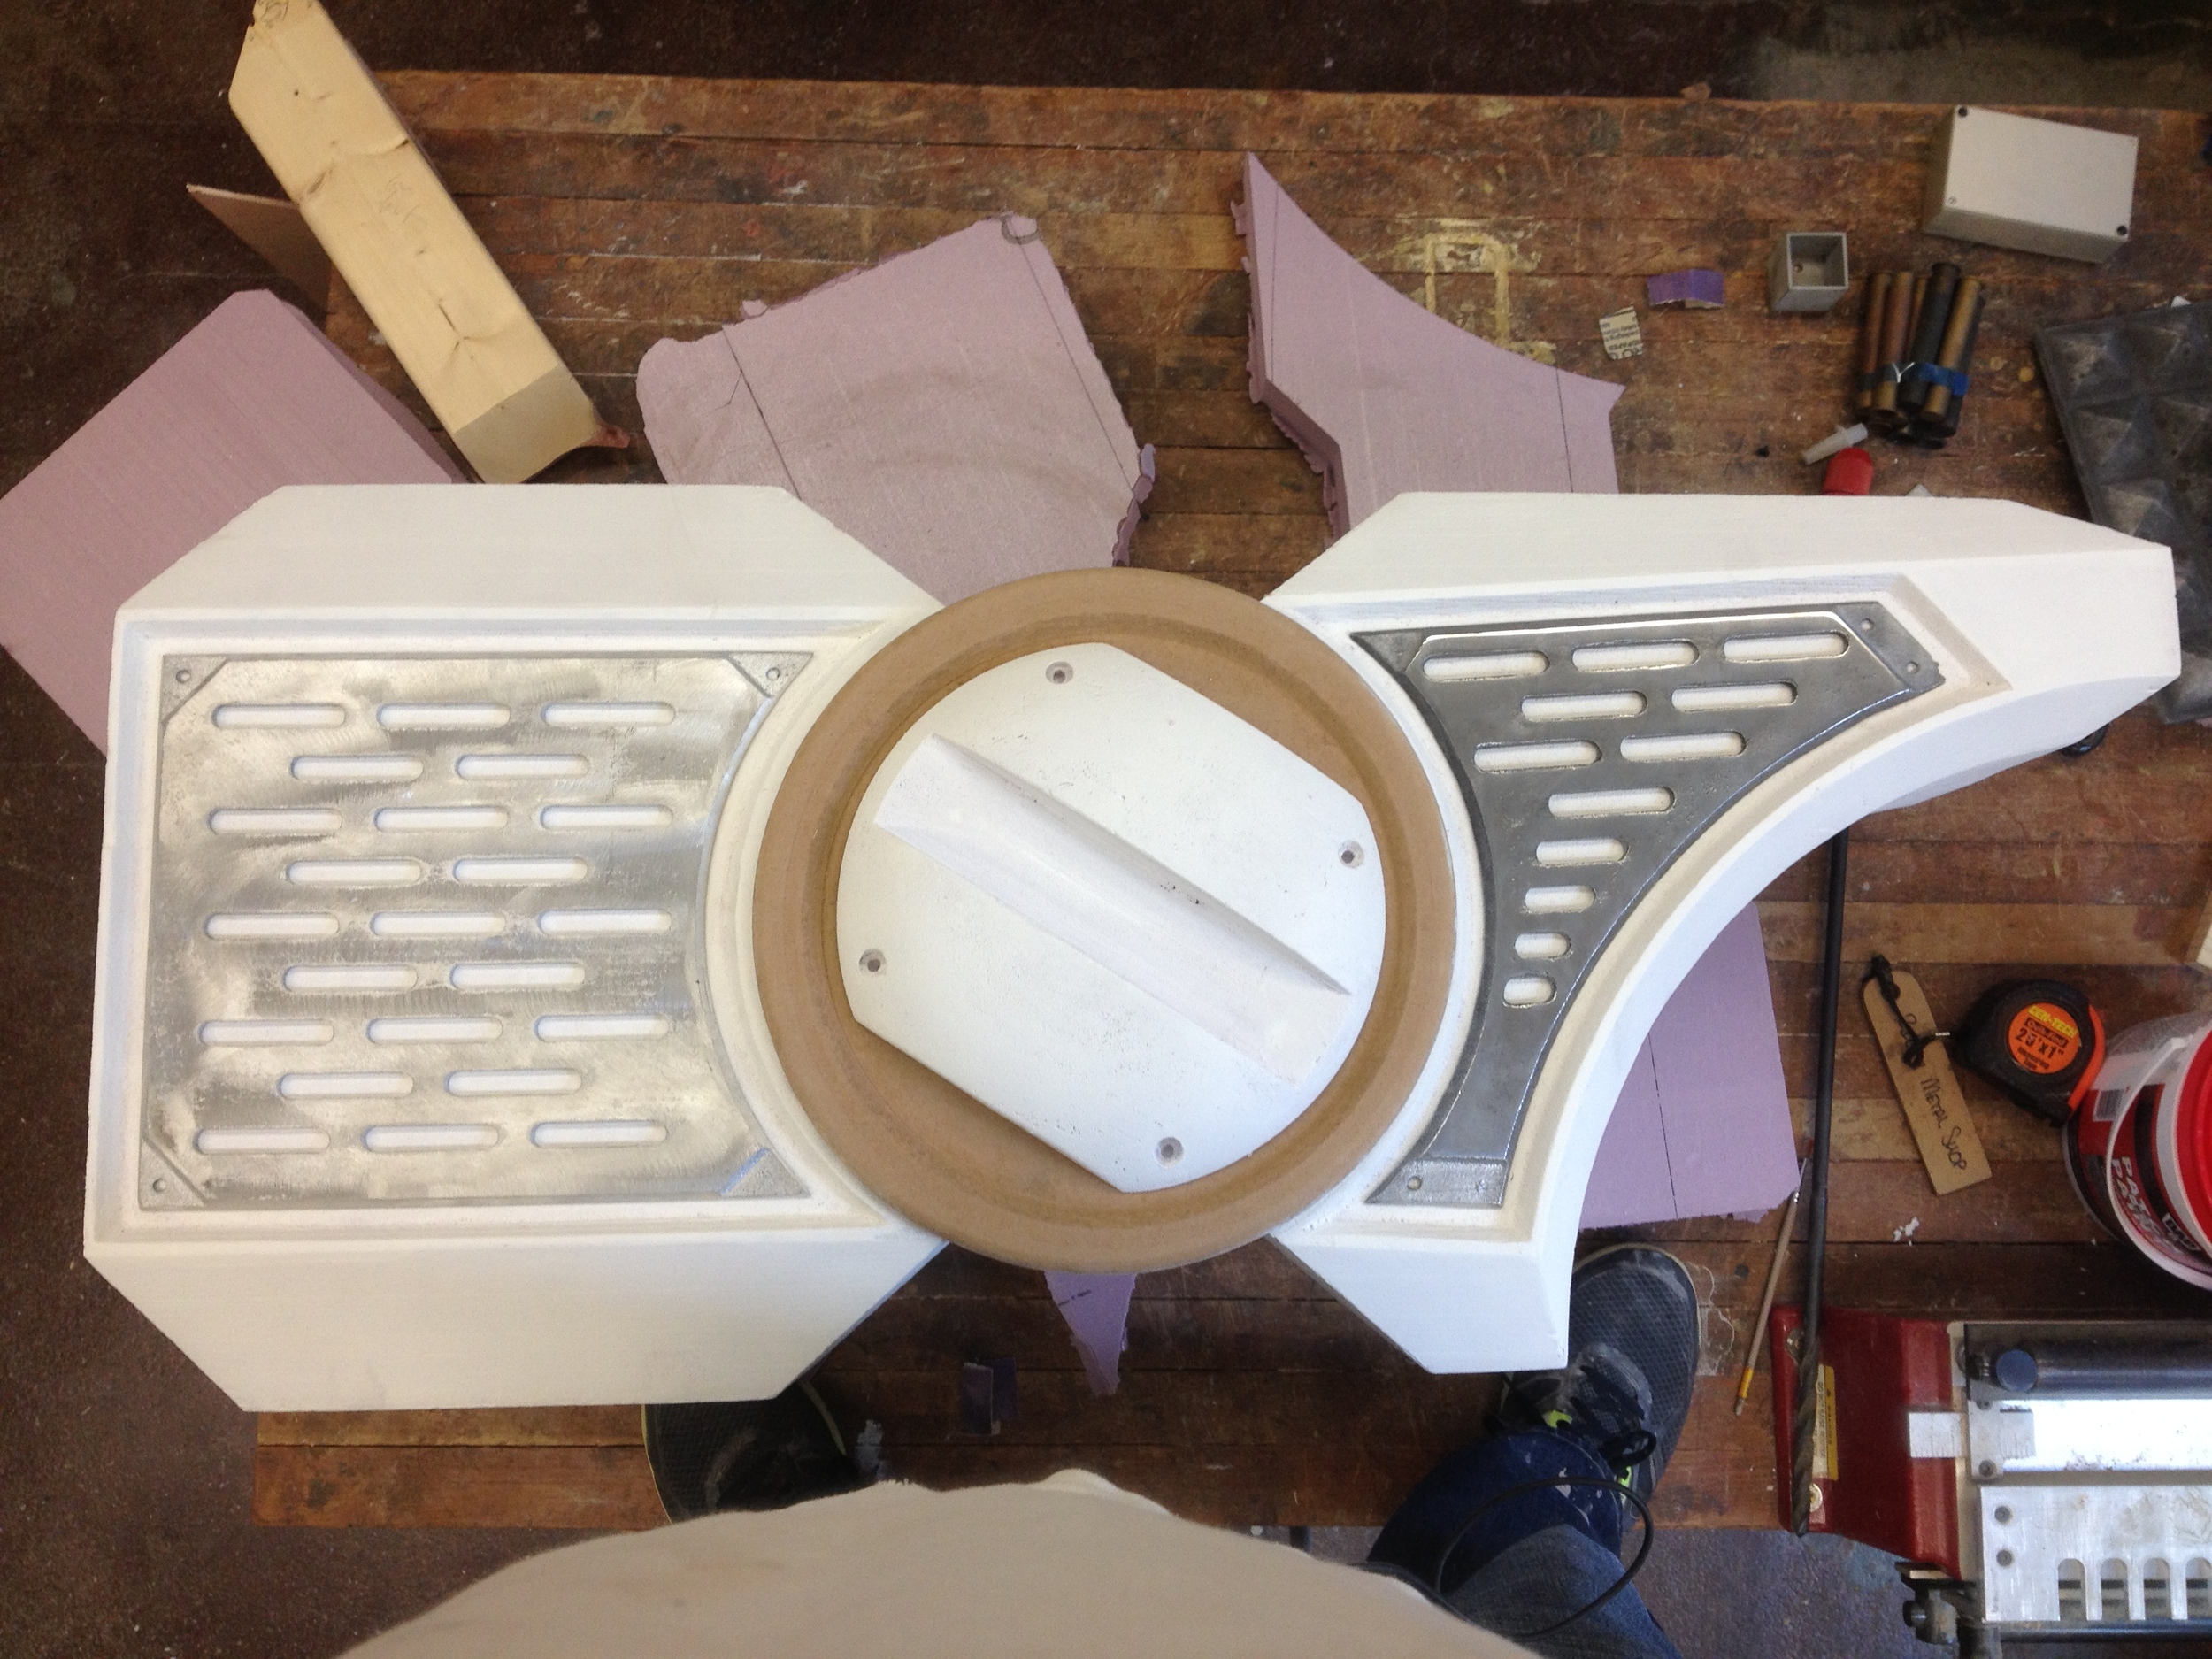
Casting the side vents, teeth, and some spikes out of aluminum. The teeth on the final piece are actually the original foam model. The vents got cleaned up and polished for that bling-bling.

Rough cuts of the sides of the Hammernaut.
Mocked up, primed, and smoothed head of the Hammernaut. The aluminum is in a rough polish at this point.

Mostly finished Hammernaut, minus a few wires and some distressing. I ended up throwing the rockets on the potters wheel and using underglazes to get that really obnoxious pop and shine, while the fuel canisters are actual decommissioned nitrogen bottles. The point of building it out of foam was to make it light enough to wield in one hand, unfortunately the ceramic and aluminum, although thin, add enough weight back (possibly along with the resin used to seal the foam) to be too heavy and unwieldy for one hand, but two isn't so bad. Unfortunately, the AtomSuit needs to be redesigned if the Hammernaut is ever to be wielded live.
AtomSuit
The character of Atom Boy came to me about halfway through my grad school career. I was learning about a ton of really interesting contemporary art, looking at a lot of performance/ video/ Installation art, and realized that I was kind of tired of making static sculpture, and wanted a way to activate the works I was making. I had already made M.P.B.F.G. 5000 and was currently working on B.H.J., and decided the best way to tie in my art with my target audience and the art world at large was to create a superhero character. I wanted this guy to be a badass, but to be inherently flawed, and to exist in a situation where his role is pretty weak, to the point of him almost not needing to be there. In this spirit I created his AtomSuit, a jetpack with a Powerfist attachment and red Converse Battle Boots.

Extremely rough initial mockup of the AtomSuit. The Jet pack body is made from a pressure washer and ductwork, while the Powerfist is a foam hulk hand modified with wood inserts, covered in truck-bed liner and rivets, stuck inside a paint can with cutouts on the underside.

First time CNCing. This piece was used as a mold to vacuum form plastic over to form the "bloody smiley face" buckler shield shoulder pad.

Post paint, early stressing Jetpack body. Missing the fuel cell at this point. There is an led hidden behind the frosted plexi a la Iron Man.

Stressed Jetpack tubes. The curved portions down at the bottom ended up being thrown on the potters wheel, with flanges to hold the tires from the power washer, which became the rocket ends.

"Bloody smiley face" buckler shield shoulder pad. I went this route with the shoulder pad to pat homage to that great post-modern comic book, Watchmen, along with adding some asymmetry to the costume. The plastic used to vacuum from the shield was red, so it was a quick step from there to get the red to come through the paint by burning it (outside, while wearing a mask). I also riveted the shield to a wooden backing plate covered in sand and plastidip, to add a rugged feel to the backside. The graying/ wearing effect comes from putting the piece back in the sandblaster after paint.
B.H.J.
The second over the top, ridiculous weapon I designed was B.H.J., Over-Sized Sawed-Off Four Barrel Shotgun with Chainsaw Bayonet and Yoshi Egg Shotgun Shells. (B.H.J., OSSOFBSCBYESS) This was to be the second fantastical gun in a series of three, initially to be displayed in some type of auto/ gun show hybrid style showcase, but after spending an exorbitant amount of time on fabrication, that idea got scrapped. I also was attempting to redeem myself after a "failed" semester worth of test work that didn't work, and fabricated this piece from scratch, all wood and steel, with the bayonet being found object and the Yoshi Egg Shotgun Shells being cast porcelain and bronze.

Early mockup of barrels with spikes. The spikes on top ended up being ditched partially due to negative feedback and also due to time/ deemed unnecessary, as the gun is already pretty ridiculous.

Roughing out the handle. This piece of wood came from the stock pile out at the wood kiln, as I can't imagine paying for that big a chunk of walnut.

Mocked up B.H.J. with rounded out and modeled handle with inserts, missing the knurling, and fabricated breech and barrels. Once again, the spikes got dropped in the final design, and the scope became much larger. The tube in front is a test of the bluing compound, while the steel ring ends up getting machined to fit inside as end caps to beef up the look of the barrels. The wax acting as the breech covers will get cast in aluminum and stained.

Detail of knurling on forend of B.H.J.. This detail was achieved by using a pull knife to make the lines wrap around the curvature and coming back in with a triangular file. Aka, probably not the correct way to knurl, but I didn't have the time or patience for that. Just this little bit took 6-7 hrs, while the knurling on the stock took 10.

B.H.J. finished and wielded. Did not take into account that the bayonet would get in the way of the grip. Also, being all steel and wood, this thing is HEAVY, but it's cool, Atom Boy can wield it one handed like a sawed off is meant to be handled. Note the txt horns, which were branded in. Also, the start of the AtomBeard- eat your hear out Hugh Jackman.
G.O.D. (Global Overhaul Device)
G.O.D. was to be the third in the lineup of oversized, ridiculous guns that shot fantastical ammo. The title is a reference to a metal song, as well as being a reference to the quintessential "God" gun that exists in every video game, the gun that pwns so hard nothing beats it. The irony of the gun is two fold: it is essentially a pistol, and while being oversized, pistols are normally the first/ crappiest weapon in a game; also, it shoots lightning out of the barrel ( it takes batteries as ammo, insert Batteries Not Included joke here) and Holy Hand Grenades out of the attached grenade launcher. Also, I put a massive scope on it because the idea of having a massive scope on a huge gun with a tiny barrel was funny to me, and pistols with scopes, while awesome looking, always seem kinda ridiculous.

Rendering of G.O.D.. The grip is appropriately sized for a human hand, while the rest of the gun grows from this point to be kind of obnoxious. Also, it is technically a snub nose revolver, partly because those are cool looking and partly due to the irony of the juxtaposition with the massive scope.

This angle is pretty awesome. The gun body was originally going to be cast in porcelain, so that there would be that really nice bright white to add to the whole "God gun" element. Also, the detailing was meant to make this thing look very tactical. This was also my first time playing around with textures and materials with rendering, so it's a little over the top.

This is a still from a video of the G.O.D. gun rotating. I picked this really obnoxious background to reference the Star Trek Holodeck/ Reboot 3D world aesthetic. This video, along with the M.P.B.F.G. 5000 redesign poster, were attempts at incorporating 3D modeling into my work without having to build the solid objects. This video never actually made it into the Disthrashterpiece video loop.
M.P.B.F.G. 5000, Supercharged Minigun Pistol with Lightsaber Ammo
M.P.B.F.G. 5000 was the first of the fantastical weapons created for Atom Boy, and ultimately probably my favorite. Coming off of my first semester in grad school, I wanted to keep with the theme of over the top, ridiculous and therefore humorous works, but wanted to get the figure out of the pieces. So, a supercharged minigun "pistol" that shot lightsabers was the most ridiculous thing i could think of. I also was attempting, for the first time, to not use ceramics at all in my work. This was done in an attempt to eliminate the weight and preciousness of pieces made out of ceramics. I really wanted to be able to "wield" this massive gun, which wouldn't have been possible if made of clay. Unfortunately, the finished piece really only looks good at a distance, but it was a good experiment with materials. The piece was later redesigned to really see what i could do with 3D modeling, and the final iteration appears in the M.P.B.F.G. 5000 Redesign poster in Disthrashterpiece.

M.P.B.F.G. 5000 first iteration, foam, wood, pvc and "found" object construction. The biggest hurdle was making a supercharger and a gun with suck ridiculous proportions fit together and flow aesthetically. I was also really interested in defying certain logic with guns, namely that they're longer than they are wide or tall to help guide the projectile along, so M.P.B.F.G. 5000 is quite a bit taller than it is long.

M.P.B.F.G. 5000 completed. Learned a lot of lessons with this piece. I had been hung up for a while on making really finished looking work, and for me that meant crisp, clean, to the point of looking "real." I learned after the fact that that sentiment could be done in a number of different ways, and a lot easier than building the whole thing from scratch.

M.P.B.F.G. 5000 redesign. Lots of updates to the original, dual lightsaber belt feed, double barrels, double tracks for serpentine belts. Also, it was redesigned with Atom Boy and his Powerfist in mind, so the whole she-bang slides over the Powerfist, with the barrels turning around the fist. This was the fist and most prominent of the "Apps" designed for the Powerfist. Obviously, much more detail has been added to this version, along with better integration between the engine and gun components.